Monday, February 20, 2023

BeeYOUtiful Memories Layout - 2 Crafty Chipboard

Hello there!

Just popping in today to share the last of my DT projects for February for 2 Crafty Chipboard.  I have created a layout.

"BeeYOUtiful Memories". 


2 Crafty Chipboard Used:

*BeeYoutiful Set
*Fine Word Set 3
*Arrows
*Frame Doodled


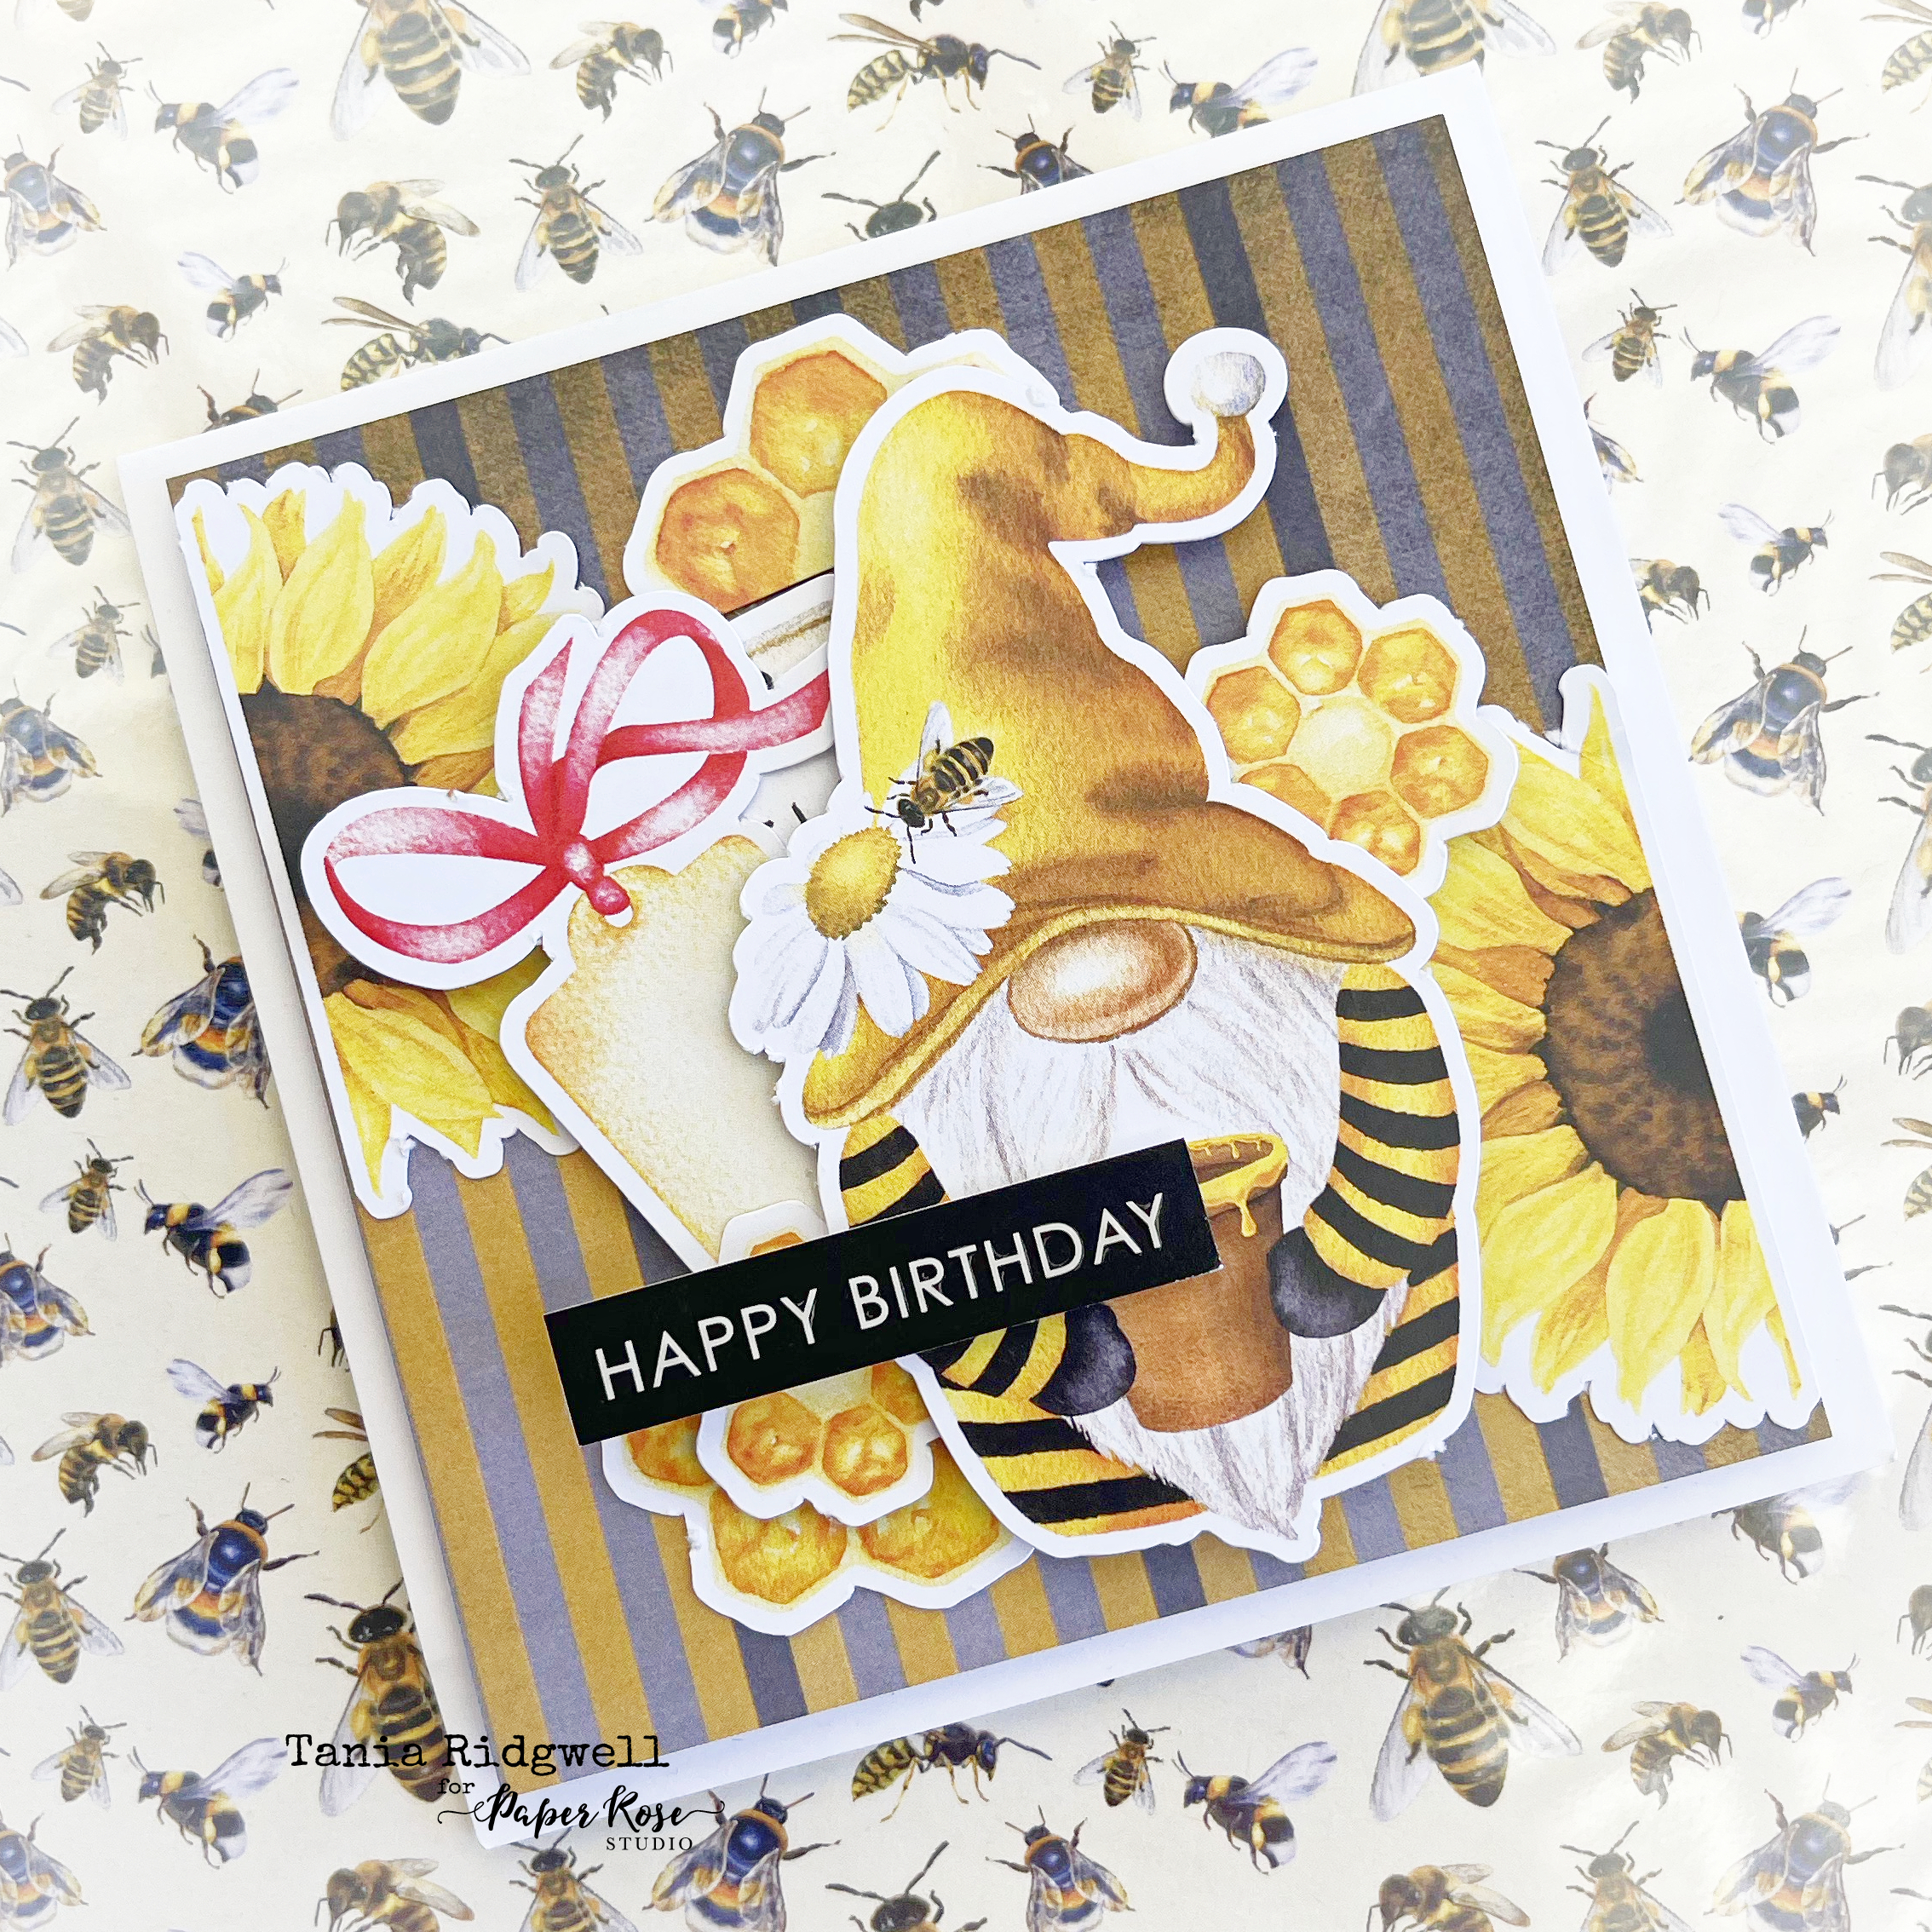
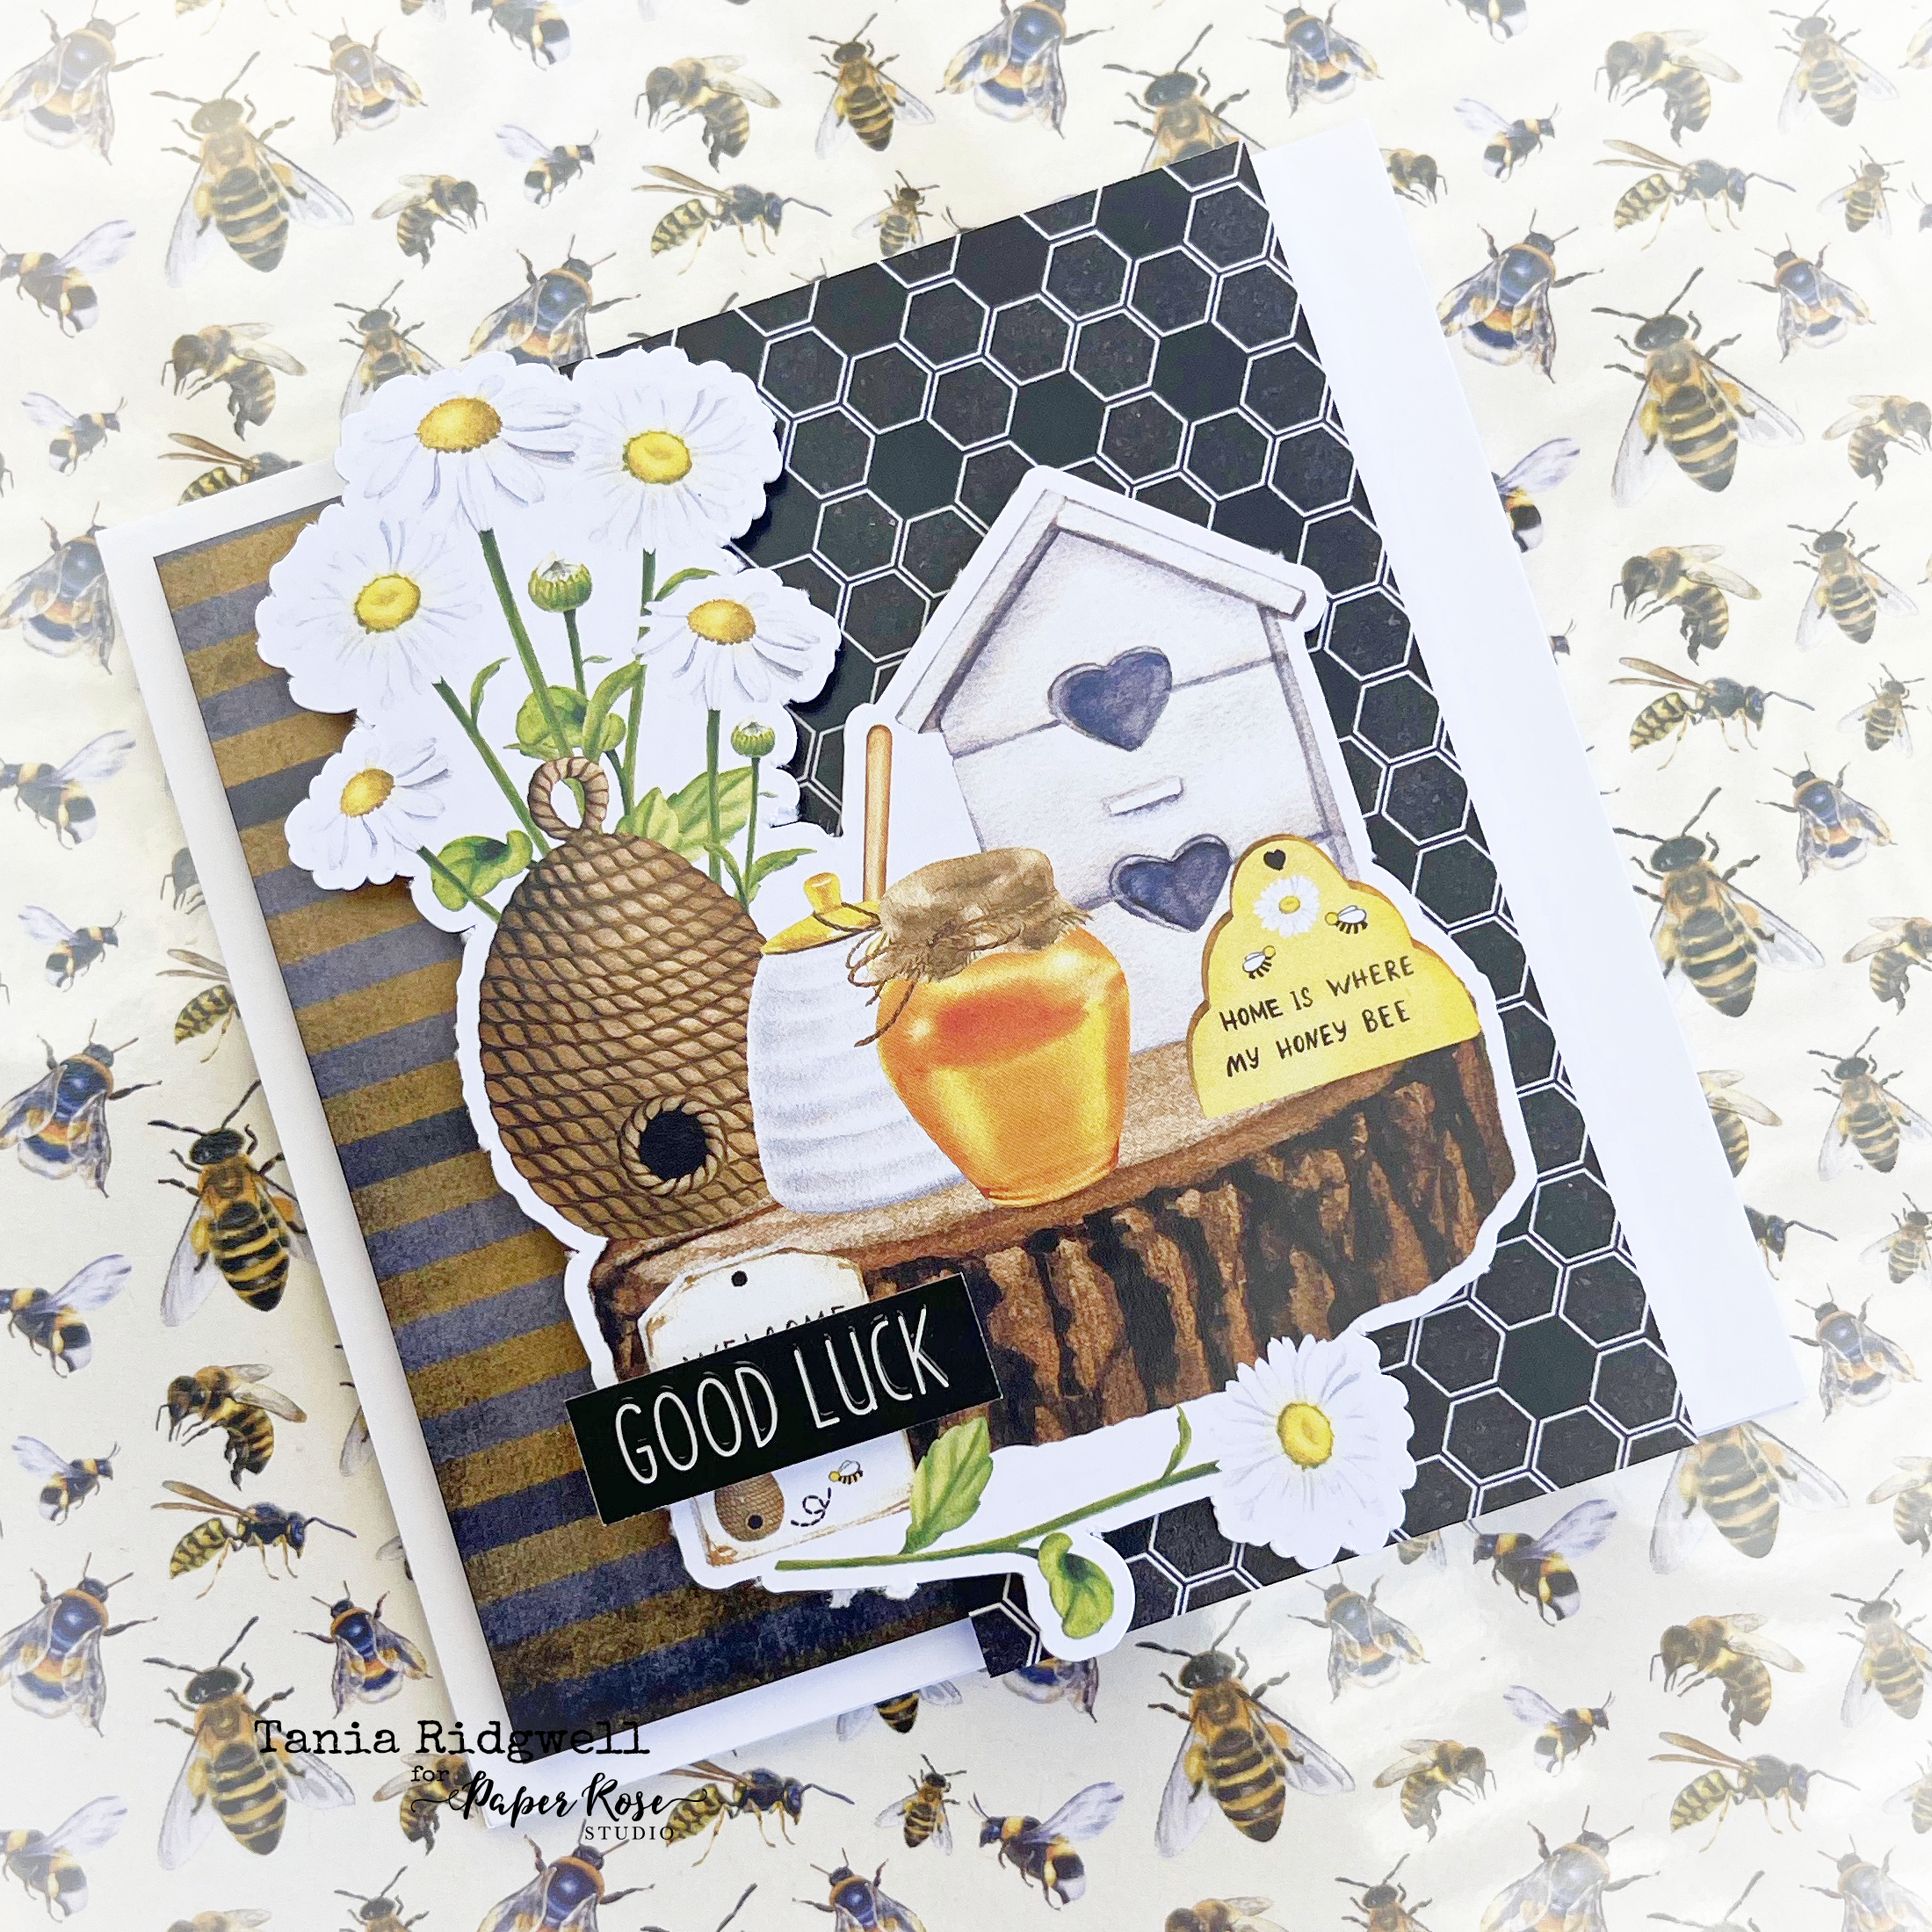
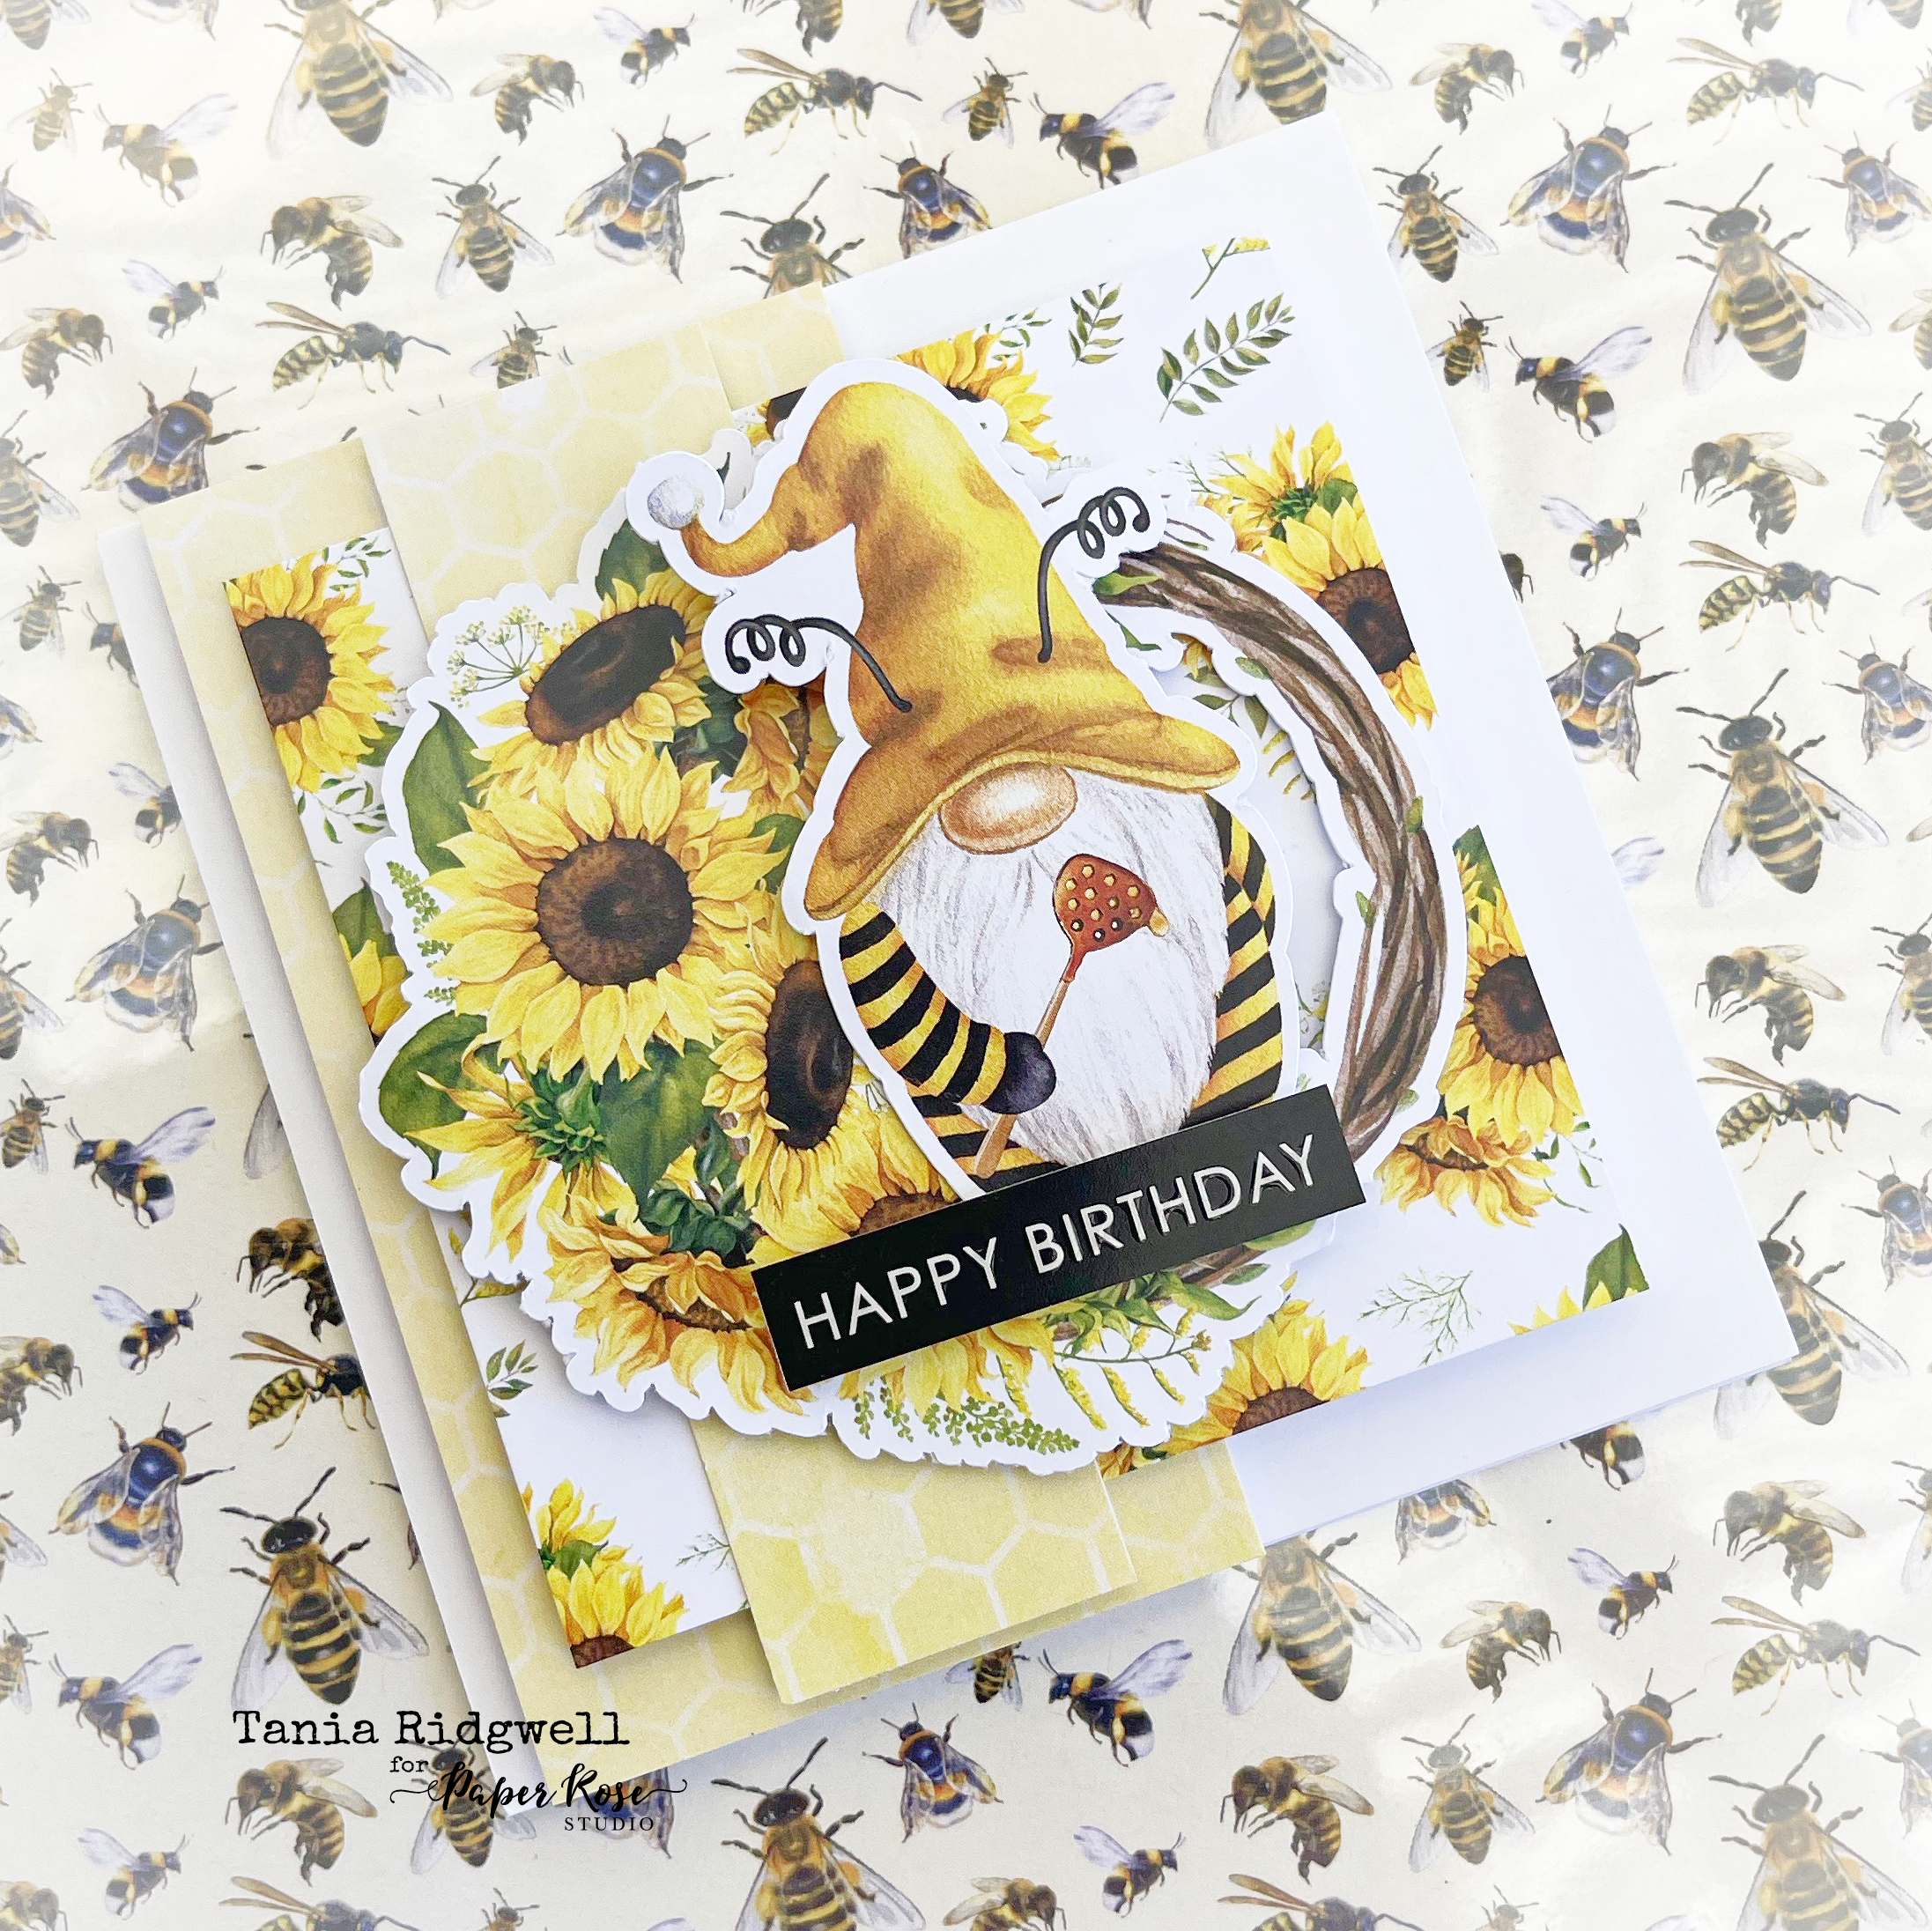
I used the beautiful Paper Rose Studio Bee Happy Paper Collection to create the base for for my layout.  Once I had created my background I set about putting my page together.


I painted the Chipboard Arrows and Doodled Frame Green Lemons Opal Polish.  I then added some Lemon Zest Dylusions Spray over the top.  Once dry I randomly dabbed on some Black Marble Dylusions Spray.  The BeeYOUtiful Chipboard Set was all first sprayed with Black Marble Dylusions Spray and then randomly sponged with the Green Lemons Opal Polish.  The Memories Chipboard was coloured with Black Marble Dylusions Spray also.


I added my photo to my page adding the Doodled Frame to the top left of the photo.  I then embellished around my photo with assorted flowers and tucked in pieces of the BeeYOUtiful and Arrows chipboard to the flowers and between paper layers.


I finished my page by adding the BeeYOUtiful and Memories chipboard to the bottom right of the photo.


Thats' all from me today, I hope I have inspired you all with my Layout.  Until next time thanks so much for stopping by.

Friday, February 17, 2023

Paper Rose Studio February DT Share Two

 Hi there!

Today I have my second project to share for February as part of my DT work for Paper Rose Studio.  I have created a quick and easy set of cards. 

"Bee Happy Cards"

Products Used:

Paper Rose Bee Happy 6x6 Paper Collection & Die Cuts
Paper Rose Bright Days Ahead Embossed Cut Apart Sheets
Paper Rose Smooth White Cardstock

Card One....


Card Two....


Card Three....


Card Four....


Card Five....


Card Six....


Well that's all from me today.  If you like any of the gorgeous products I have used be sure to pop over to the Paper Rose online store here and check them out along with so many more fabulous ones....  I have one more project to share with you later in the month as part of my DT work, so I hope you pop back to check it out.....
Until next time, thanks so much for stopping by and happy crafting!

Wednesday, February 8, 2023

Paper Rose Studio February DT Share One

Hi there!
Just popping in to share the first of my DT projects for February for Paper Rose Studio.  First up this month I have a set of cards to share.


Products Used:

Paper Rose Nature Stroll 2 Paper Collection
Paper Rose Stroll 2 Die Cuts
Paper Rose Leaves 4
Paper Rose Blue Leaf Medium
Paper Rose Branch Die
Paper Rose Clear Crystal Mix
Paper Rose Square Card Bases
Smooth White Cardstock

Card One....


Card Two....


Card Three....


Card Four....


Well that's all from me today.  If you like the gorgeous products I have used be sure to pop over to the Paper Rose online store here and check them out along with lots more....  I have a couple more projects to share with you later in the month as part of my DT work, so I hope you pop back to check them out.....
Until next time, thanks so much for stopping by and happy crafting!

Tuesday, February 7, 2023

Perfection Altered Panel Frame - 2 Crafty Chipboard

Hello there!

Just popping in today to share the first of my DT projects for February for 2 Crafty Chipboard.  I have Altered a Kaisercraft Panel Frame.


2 Crafty Products Used:

*Perfection
*Mini Doily Disc Set
*Chloe's Vines
*Foliage Set 8


I decided on keeping the panel frame raw and covered it it with the gorgeous Mintay 7th Heaven Papers.


Once the frame panels were covered, I added each of my photos.  I painted each of my chipboard pieces with Opal Shimmer Paint.  


I decorated each of the panels with fussy cut elements and an assortment of flowers.  Once I was happy I tucked the Chloe's Vines & Foliage 8 chippies randomly into the flower clusters.  I added one of the Mini Doily chippies to the two outer panels of the frame and then the Perfection title to the centre panel.  I finished off the frame by lacing each panel together with some white organza ribbon.


That's all from me today, I hope I have inspired you all a little with my Altered Panel Frame.  
Until next time,
Thanks so much for stopping by.